스튜디오를 위한 재고 확보
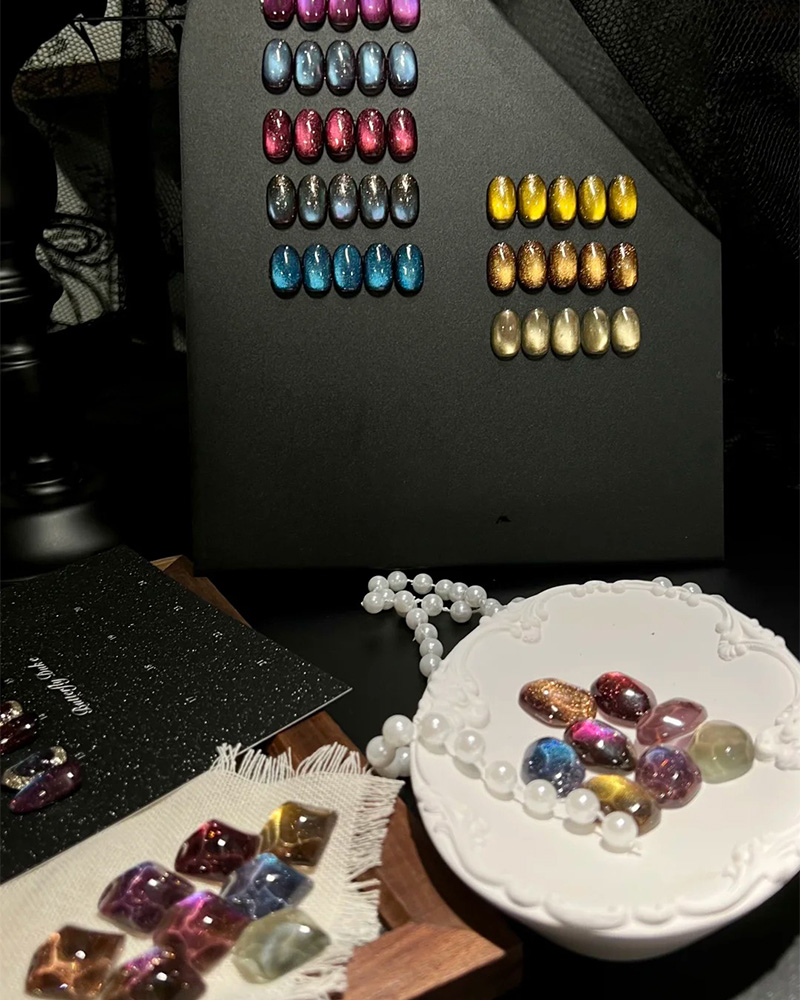
로즈 유나이의 엄선된 네일 젤, 아트 파우더, 도구, 살롱 필수품은 소매 및 도매로 주문할 수 있습니다.

젤 네일 제품을 구매하기 전에 브랜드에서 제공했으면 하는 초보자 젤 네일 튜토리얼입니다. 12단계로 구성된 젤 네일 바르는 방법과 젤 네일이 벗겨지거나 주름이 생기거나 화상을 입는 진짜 이유에 대해 알려드립니다.
I’ve watched too many first-timers blame “shaky hands” when the failure is basically preloaded into the setup: underpowered lamps that can’t cure pigmented layers, base/top formulas that don’t match, and a prep routine that skips the boring parts that actually decide wear time. And then we act surprised when day two looks like a shedding snake. Why would it stick if you never gave it a clean surface to bite?
So here’s the hard truth I’ll stand behind: your results are less about talent and more about control. Control of surface, control of layer thickness, control of cure, control of edges. That’s it.
If you’re buying supplies, think like a technician, not a shopper. For beginners, I prefer a “forgiving system”: a reliable adhesion layer, an optional thin structure layer, and beginner-friendly colors that don’t punish you for one imperfect pass. For adhesion and small reinforcement, a strong-hold utility gel like this 강력한 고정력을 위한 기능성 네일 아트 젤 can play the role of “grip” when your nails are soft or oily. For structure and high error tolerance, a builder option like this N Series 3-free nude shimmer builder gel makes beginners look more skilled than they feel, because it supports the nail instead of exposing every micro-mistake.
And yes, I’m going to say it plainly: don’t pair a mystery $10 lamp with a full gel system and expect “no mistakes.” That’s not frugal. That’s gambling.
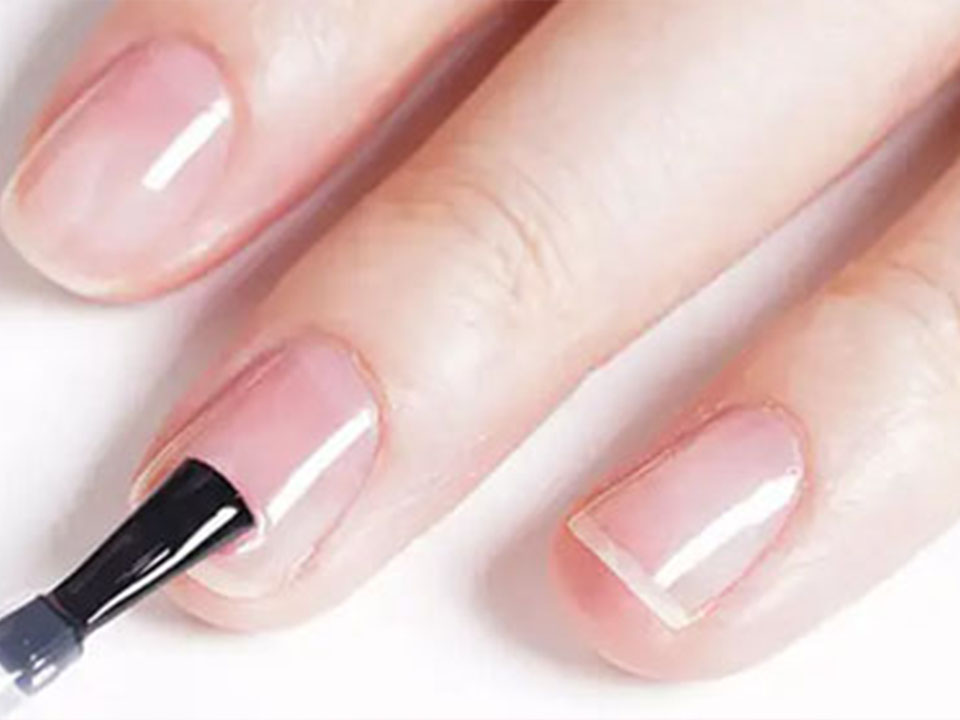
You’ll notice I keep each step to one purpose. That’s intentional. When something goes wrong, we can pinpoint the cause instead of spiraling.
Use 70% alcohol (isopropyl or ethanol) for hands, tools, and the table surface. If you’re touching your phone every two minutes, you’re re-contaminating the workflow. Be honest with yourself.
You’re not trying to win a fight with your cuticles. You’re removing the thin, clear layer stuck to the nail plate. If you leave it, your base coat bonds to dead tissue, not nail. Guess what lifts first?
Round or squoval is beginner-safe. Sharp shapes concentrate stress and make edge lifting easier. Want longevity? Choose the boring shape first.
You only want a uniform matte surface. No trenches. No thinning. If the nail plate looks “scratched deep,” you went too far.
Quick checkpoint: no shiny spots, no grooves.
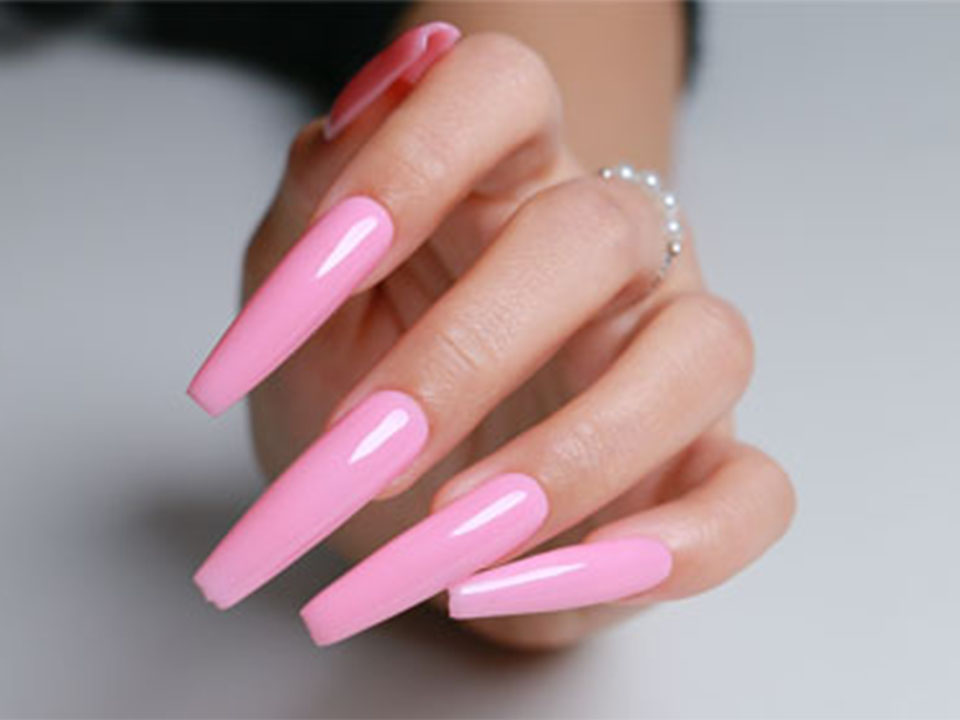
Brush, then wipe with lint-free pad + alcohol. Dust behaves like a release agent. It breaks adhesion while you swear you “prepped well.”
If your hands sweat, if you live in humidity, or if you’ve had peeling before—don’t skip this. You’re not being dramatic. You’re managing chemistry.
Thin. Thinner than you think.
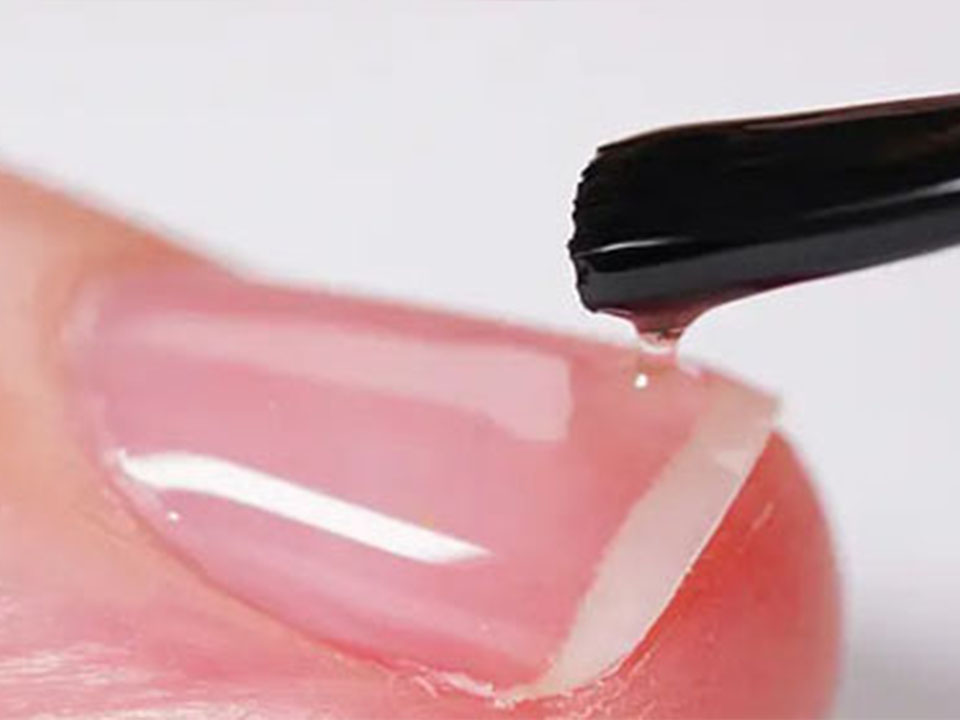
If it floods the sidewalls or cuticle, you’ve already set up lifting. Cure per your lamp and product guidance, but in practice: most LED setups land around 30–60 seconds for base layers. If your lamp is weak, you’ll need longer—and even then it may not be enough.
This is the beginner “insurance policy.” If your nails bend, split, or you always get edge wear, add a thin apex with a builder gel.
I like a nude shimmer builder for beginners because it hides micro-imperfections and makes the nail look “finished” even before color. Example: 누드 쉬머 빌더 젤 applied as a thin, controlled arch. Not thick. Not bulky. You’re not sculpting extensions on day one.
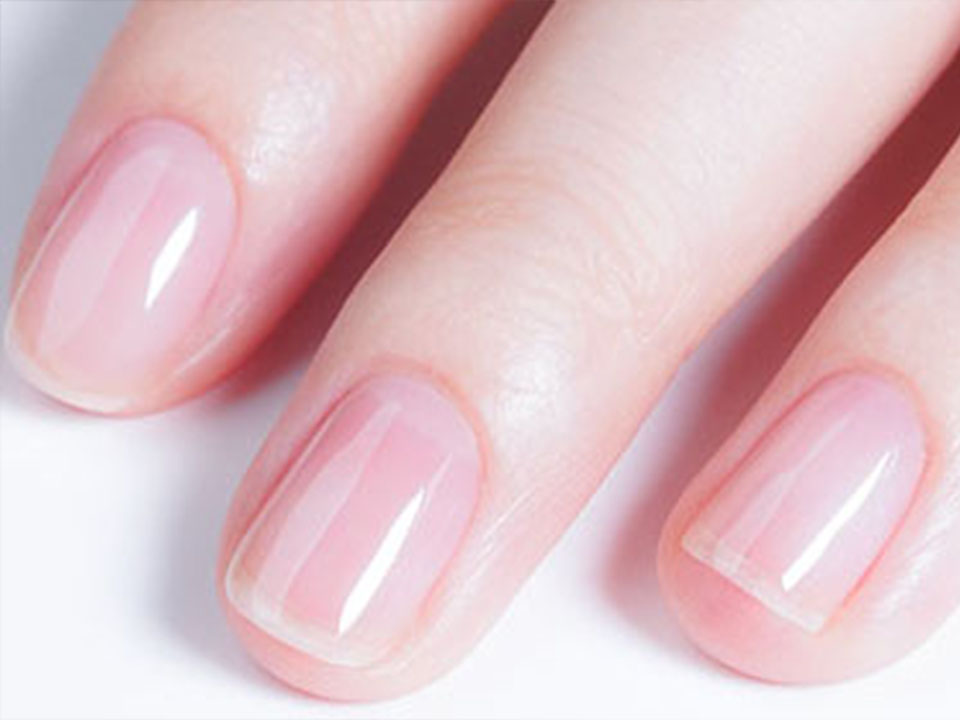
Two to three thin coats beat one thick coat every time. Thick color is the fastest route to wrinkling and soft centers.
If you’re brand new, start with forgiving shades and finishes:
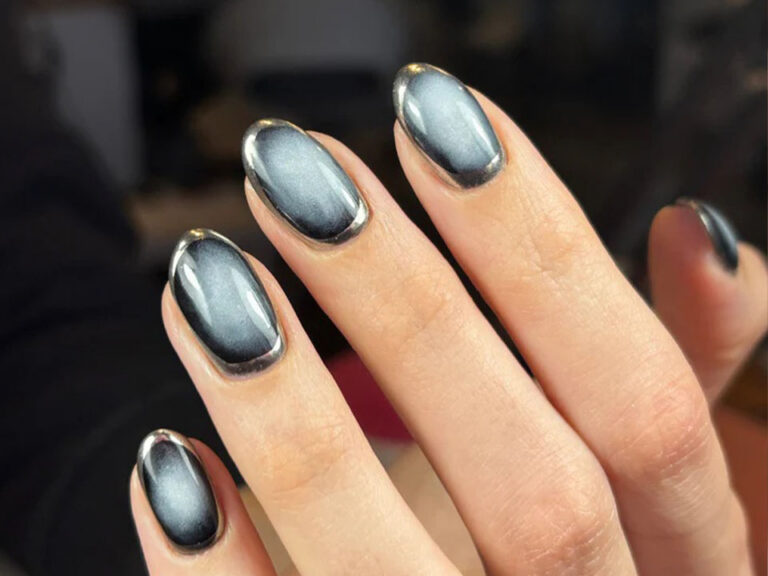
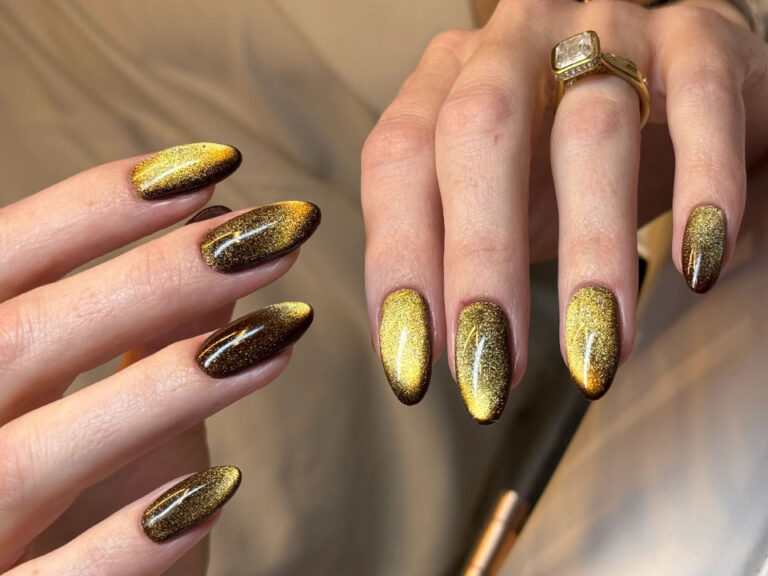
Want a dramatic look without advanced technique? You can graduate later into effects, like a magnetic cat eye. But don’t start there if you’re still learning layer control.
Every layer should lightly seal the free edge. Not a thick blob, not gel on skin—just a clean cap. This one move can add days to wear.
Top coat isn’t “for shine.” It’s your abrasion shield and stain barrier. Under-cure it and you’ll get dullness, scratches, and premature peeling.
If your top coat has a sticky layer, cleanse it. Then oil the cuticles. Your nail plate just went through dehydration, abrasion, and curing heat. Treat it like a surface that needs recovery.
Now ask yourself: if you followed all twelve, what’s left to “mystery” failure?
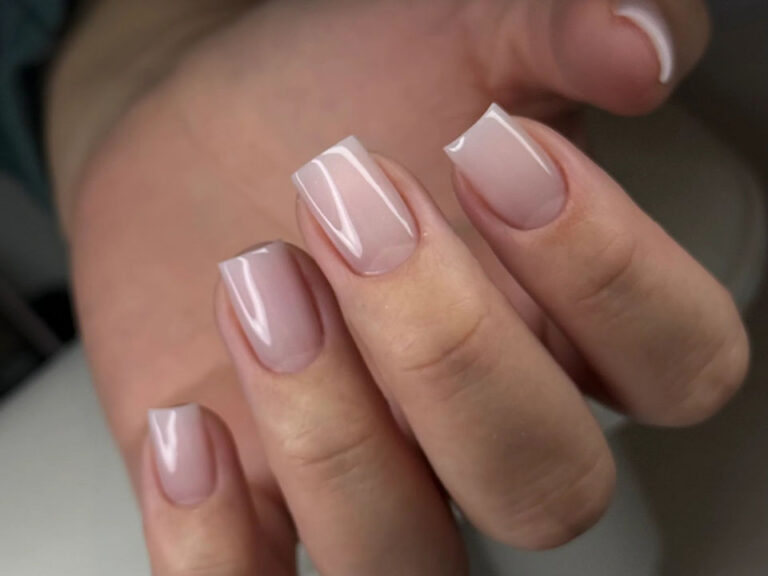
If you want a “safer starting ladder,” build your skills in this order: sheer nude → jelly → micro-glitter → magnetic effects.
When you’re ready for sparkle that still behaves for beginners, a controlled glitter gel can be less fussy than chunky glitter placement. For example, a galaxy-style shimmer like SG series sheer galaxy glitter gel can look complex while applying like normal polish—if you keep the layers thin.
| Gel Type / Finish | Best For Beginners Because… | Typical Coats | Cure Risk | 난이도 | Common Rookie Mistake |
|---|---|---|---|---|---|
| Sheer Nude (e.g., “Dewy” sheer) | Brush marks disappear; thin layers look intentional | 2–3 | 낮음 | Easy | Flooding cuticles because “it’s sheer, it won’t matter” |
| Jelly (semi-transparent) | Buildable color; forgiving edges | 2–4 | Low–Medium | Easy–Medium | Going too thick chasing depth in one coat |
| Builder (thin structure layer) | Adds strength; reduces tip wear; hides surface flaws | 1–2 | Medium | Medium | Making it too thick and bulky |
| Fine Glitter (micro glitter) | Visual camouflage; easy “wow” without art skills | 2–3 | Medium | Medium | Skipping a smooth top coat, leaving texture |
| Magnetic Cat Eye | High impact; looks “pro” fast | 2–3 | Medium–High | Medium–Hard | Moving the magnet too slowly or over-curing unevenly |
How to apply gel nails at home if I’m an absolute beginner? Applying gel nails at home means preparing the nail plate, applying a thin base coat, building color in multiple thin layers, sealing with a top coat, and curing each layer under a compatible lamp while keeping product off the skin. The key is controlled prep, thin coats, and full curing.
How long to cure gel polish with an LED lamp? Curing gel polish means exposing each gel layer to enough UV/LED energy for the resin system to harden through the full thickness, not just on the surface. Most base and color layers cure in roughly 30–60 seconds under a true LED lamp, while thicker layers can require longer or multiple cycles.
Why is my gel polish peeling after 1–3 days? Gel polish peeling is the early separation of cured gel from the nail plate, usually caused by cuticle film left on the nail, product touching the skin, dusty or oily prep, uncapped free edges, or incomplete curing from thick coats or a weak lamp. Fixing prep and layer thickness solves most cases fast.
What’s the best gel nail kit for beginners to avoid mistakes? A beginner gel nail kit is a matched set of lamp + base + top + beginner-friendly colors designed to cure reliably together, minimize lifting, and tolerate thin-layer technique. Look for a dependable lamp, a forgiving base system, and starter shades like sheer nude or jelly that don’t punish minor application flaws.
Is builder gel necessary for gel nails for beginners? Builder gel is a thicker, structure-building gel used to add strength and reduce bending-related chipping, especially on soft nails. Beginners don’t “need” it to start, but a thin builder layer often increases wear time and makes the surface more forgiving, which reduces the chances of peeling and tip damage.
How do I prevent gel from flooding my cuticles? Cuticle flooding prevention is keeping gel off the skin by using minimal product, floating the brush, leaving a micro-gap near the cuticle, and cleaning any seepage before curing. If gel cures on skin, lifting becomes predictable, because the gel anchor point is on skin that moves—not the nail plate.
If you want the shortest path to a clean first set, don’t overbuy. Buy the “right few.” Start with adhesion + a forgiving structure option + a beginner shade you can control.
My practical beginner stack looks like: a grip/utility gel like the strong hold functional gel, a thin structure layer using the 누드 쉬머 빌더 젤, and a low-drama color like Dewy Glow sheer nude or the opalescent jelly gel. Then follow the 12 steps exactly—no improvising, no “probably fine.”
Want me to tailor the exact shopping list to your nail type (soft, oily, thin, peeling-prone) and your lamp model? Tell me what you’re using, and I’ll make it idiot-proof.