Запасы для вашей студии
Ознакомьтесь с гелями для ногтей, художественными пудрами, инструментами и салонными принадлежностями Rose Younai, доступными для розничных и оптовых заказов.

Гель для кошачьих глаз - это не “талант”. Это контроль магнита, выбор времени вязкости и процедура полимеризации, которая не саботирует вашу собственную работу. Я покажу последовательность действий профессионала, уродливые ошибки и набор продуктов, которые действительно работают.
I’ve watched someone nail the prep, lay down a flawless base, then absolutely torch the finish because they got magnet-happy, hovered too far, waited too long, and by the time they cured… the “cat eye” had relaxed into a mushy shimmer cloud that screamed “DIY at 2 a.m.” and not in a cute way.
It’s not talent. It’s timing.
And yeah—I’m biased. I frankly believe cat eye gel nails are the quickest way to expose who’s actually controlling their gel work and who’s just painting shiny stuff and hoping the universe cooperates.
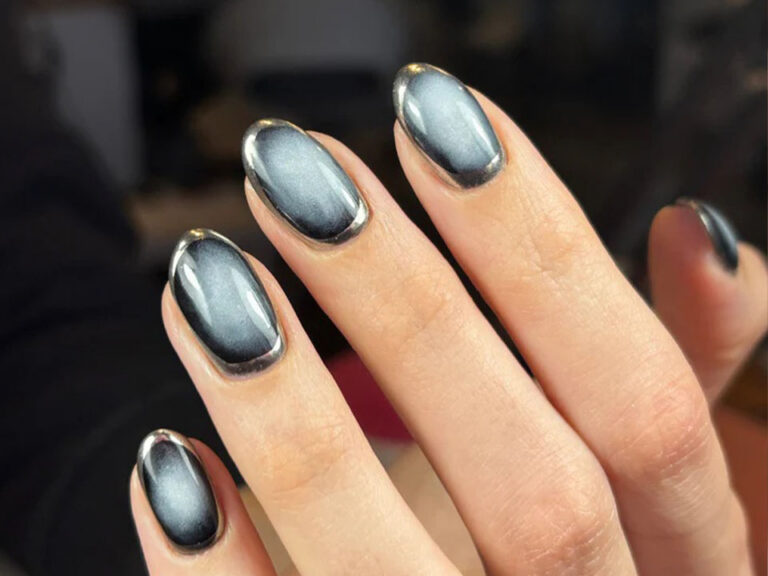
So, do you want a crisp stripe, a clean halo, or that jewel-tone “glass depth” thing? Because each one is basically the same move—just with different magnet geometry and less fiddling than you think.
But let’s talk shop for a second.
Cat eye gel is a wet-film alignment trick: reflective particles suspend in the gel, then shift position when you introduce a magnet field, and your entire result depends on three variables you can’t “manifest” your way out of—coat thickness, magnet distance, and how quickly you cure after you see the effect snap into place.
It drifts. Always.
If your coat is too thin, the line blooms into a band. If it’s too thick, the particles move like they’re stuck in syrup and you get a stiff highlight that looks dead-on-arrival. Most people don’t fail because they’re clumsy. They fail because they treat magnetic gel like normal glitter gel. It isn’t.
Yet nobody wants to hear this part because it’s boring.
File the shape. Push back cuticles. Remove shine. Wipe down. If your plate has oil on it, your cat eye line will look hazy even if your magnet work is decent. The sparkle doesn’t hide prep mistakes—it spotlights them.
Three words: don’t skip prep.
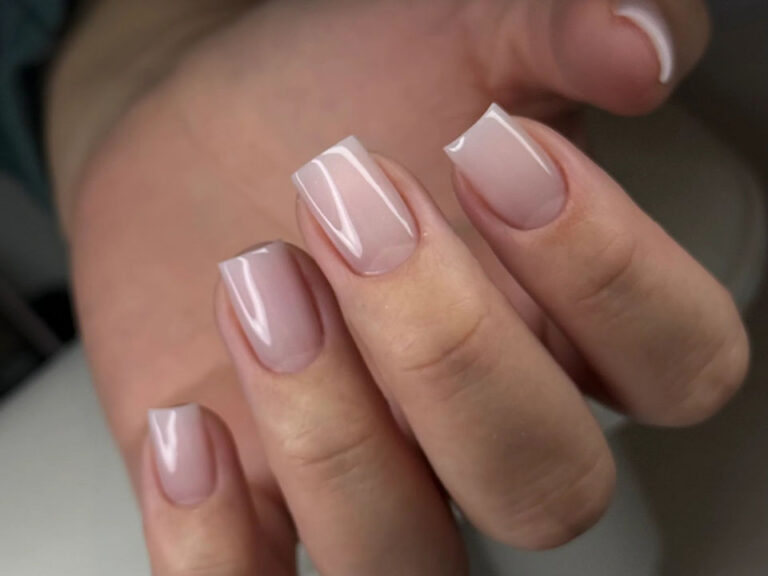
If you need structure (or you’re building length), do that first and get the surface level. A smoother foundation makes the light line look sharper. I like a builder that self-levels without turning into a flood, e.g., nude shimmer builder gel for a level base. Keep it controlled. Thin edges. Apex where it belongs.
However… stop half-curing and hoping the top coat “fixes it.” It won’t.
If the base layer is under-cured or wrinkly, the cat eye layer can drag it and create micro texture that breaks the line. You’ll see it instantly once the highlight hits.
Cure it. Properly.
Medium coat means: enough body to hold a pattern, not so much that it pools. Not so little that it behaves like shimmer.
One nail. Always.
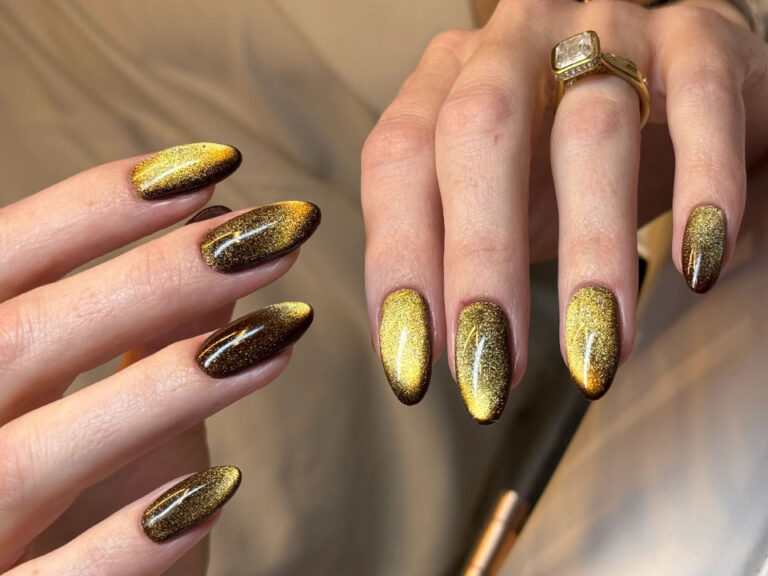
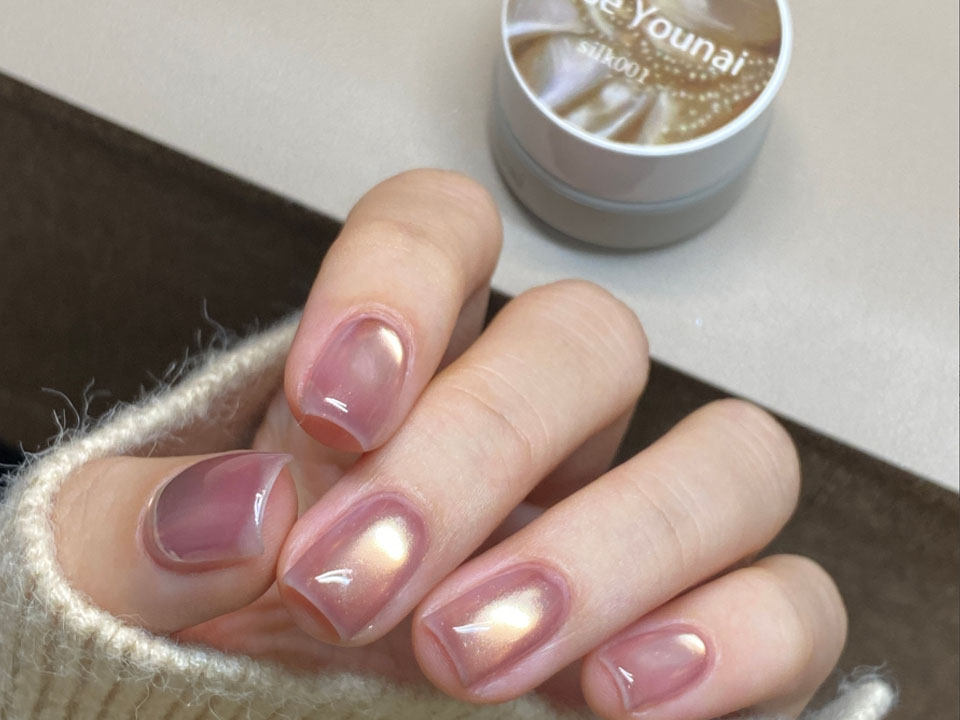
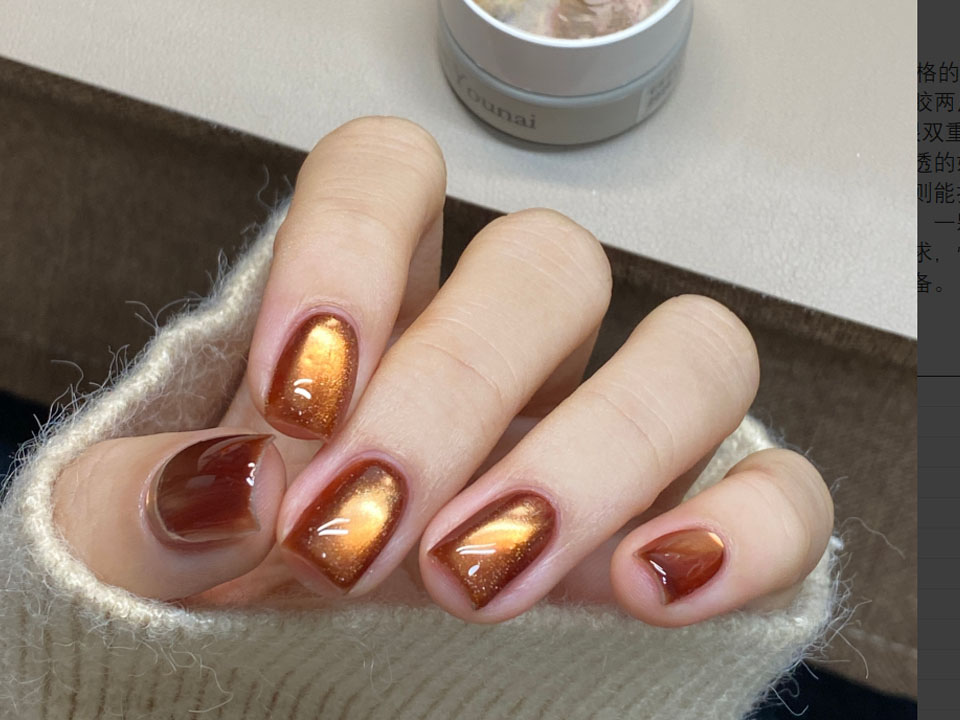
If you’re going for a softer, expensive-looking effect (think “milky glass” rather than “laser beam”), use a semi-sheer cat eye that doesn’t fight you—like milky glass cat eye gel for a softer line. If you want warm depth that photographs like money, I’d reach for vintage amber magnetic cat eye gel polish.
So here’s the technique techs actually repeat because it works when you’re tired and your hands aren’t in “perfect tutorial” mode: set, pull, lock.
Set (1–2 seconds): Hover the magnet 2–5 mm above the nail, parallel to the surface. Let the particles wake up and start organizing. Pull (3–8 seconds): Tiny adjustments only—angle or distance—to tighten the line or shape the halo. No waving. No tapping. Don’t touch the gel. Lock (immediate): Cure right away. If you admire it too long, it relaxes and fattens.
The magnet is basically a focus ring. Too close and you can get harsh edges (or dent the gel if you twitch). Too far and you get vague glow with no definition. The sweet spot is boringly consistent—and that’s why it looks pro.
Want the “double focus” sparkle (line + glitter depth without chaos)? Use a formula engineered for that effect and don’t overwork it, like a Набор блесток с микроглиттером с двойным фокусом. One deliberate hold. Then cure. Stop poking it.
But here’s the part people pretend doesn’t exist: curing is not a vibe. It’s a process.
If you under-cure, you get dull finishes, smudged lines, weird tackiness, and the kind of “why does it look dirty?” effect that makes you blame the gel when it’s your routine.
Short sentence: don’t gamble.
If you press your top coat brush like you’re scrubbing a pan, you’ll drag the line. Period.
Float it. Cure. Wipe inhibition if your system needs it. Move on.
Yet the same technique reads totally different depending on opacity and particle density.
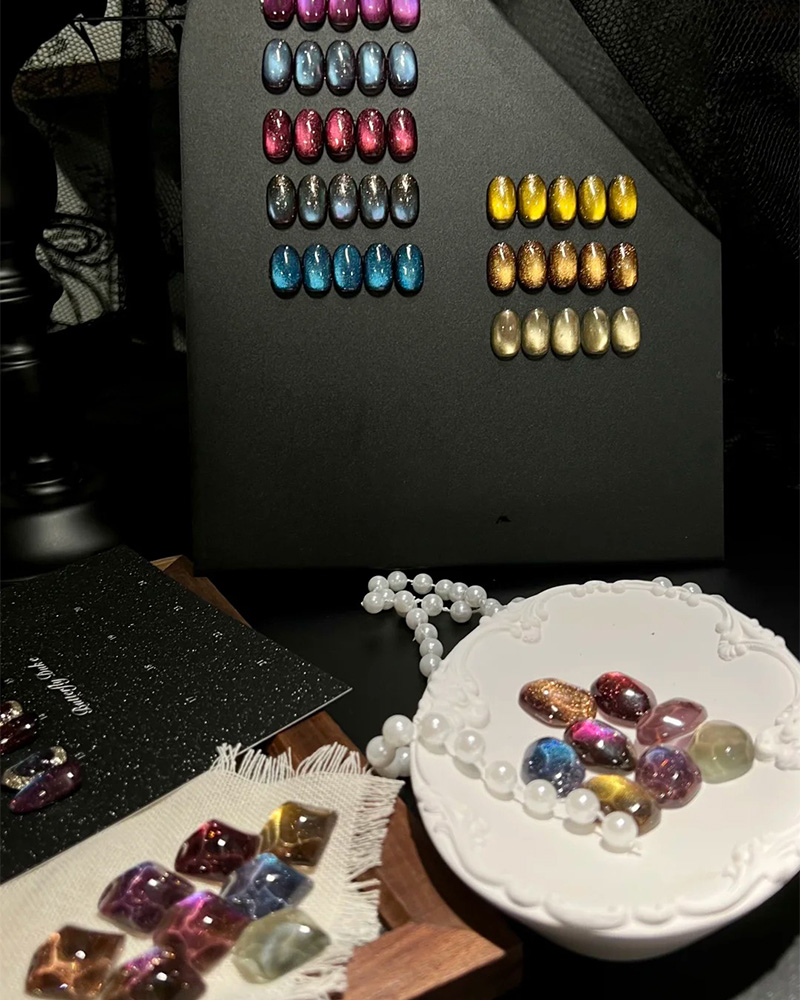
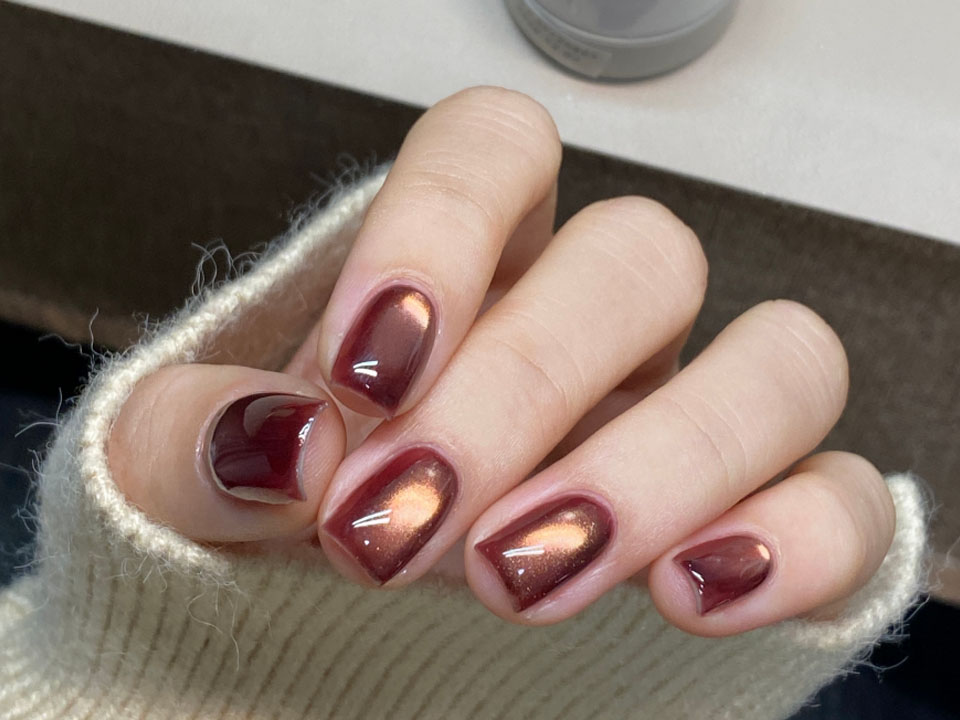
Jewel tones: Reds and wines hide tiny wobble and still look rich. If you want bold, photo-friendly drama, go straight to a dedicated set like Винно-красный магнитный гелевый набор "Кошачий глаз.
Neutrals: Neutral cat eye is the quiet flex. It’s less forgiving—because the line needs to be clean—but it looks expensive when it’s done right. A leveled builder base + semi-sheer cat eye is the play.
Chrome-ish sparkle without full chrome stress: Chrome shows everything. Every ridge. Every bump. If you want “glitter glass” instead, layer accents like star glitter nail gel for controlled sparkle rather than going full mirror over a shaky surface.
However… they did.
You magnetized five nails, then cured. That’s not efficient. That’s watching your pattern drift in real time. One nail at a time or accept blur.
Your coat was too thick. Thick gel feels luxe, sure. Then the particles move slow and clump into a fuzzy band.
You kept “fixing” it. Every extra pass warms the gel film and encourages bloom. Set. Pull. Lock. Done.
Your base was lumpy and you blamed the cat eye. Cat eye highlights texture. It’s basically a flashlight aimed at your leveling mistakes.
You got sloppy with skin contact. From my experience, this is where DIY goes sideways: product on skin, rushed curing, then irritation and peeling that people pretend is “just dryness.” Don’t do that to yourself.
| Technique / Product Type | Visual Result | Best For | Most Common Failure Mode | Fix |
|---|---|---|---|---|
| Tight “cat eye line” (magnet parallel, close hover) | Sharp stripe, high contrast | Photos, dramatic sets | Line blooms into a band | Thinner coat + cure immediately |
| “Halo glow” (magnet farther, shorter dwell) | Soft aura, less contrast | Everyday neutrals | Looks like shimmer, not cat eye | Slightly thicker coat + longer dwell |
| Micro-glitter magnetic gels | Line + sparkle depth | Party / festive looks | Particles look chaotic | Shorter magnet time, one-pass rule |
| Milky glass cat eye gels | Soft luxury highlight | Minimal, “clean girl” nails | Line disappears on pale bases | Darker base or two thin cat-eye coats |
| Chrome + cat eye | Hyper-reflective | Trend-forward sets | Shows every ripple | Perfect leveling + light hand top coat |
How do you apply magnetic cat eye gel like a pro? Magnetic cat eye gel is a gel polish with reflective particles that align under a magnet to form a visible “stripe” or “halo,” and pro results come from controlling coat thickness, magnet distance (roughly 2–5 mm), and curing immediately once the pattern tightens so it can’t relax. After your base cures, apply one medium coat, hover the magnet 3–8 seconds, then cure right away.
What’s the best magnet technique for cat eye gel nails? The best magnet technique is a steady hover method that holds consistent spacing and uses a single deliberate position so particles align cleanly, because waving, tapping, or repeated “fixing” stirs the particles and turns a crisp line into a blurry band. Start parallel for a stripe, angle slightly for tightness, then cure immediately.
Why is my cat eye line blurry or spreading? A blurry or spreading cat eye line happens when particles keep drifting in a gel layer that’s too thin, too warm, or left uncured too long after magnetizing, so the crisp alignment relaxes into a wider shimmer zone and loses contrast. Use a medium coat, magnet one nail at a time, and cure the moment it looks right.
Can beginners do cat eye gel at home safely? Cat eye gel at home is workable, but “safe” means keeping uncured gel off skin, curing fully with a compatible lamp, and working in a clean, ventilated setup so you’re not repeatedly exposing skin to uncured product, which can cause irritation over time. Use clean application habits, cure properly, and don’t rush the routine.
Do I need a black base for magnetic cat eye gel polish? A black base isn’t required, but it boosts contrast by making the magnetic highlight pop, while nude, milky, or sheer bases create a softer glow that can look premium when the nail surface is level and your line control is clean. If your line disappears, go darker or apply two thin cat-eye coats.
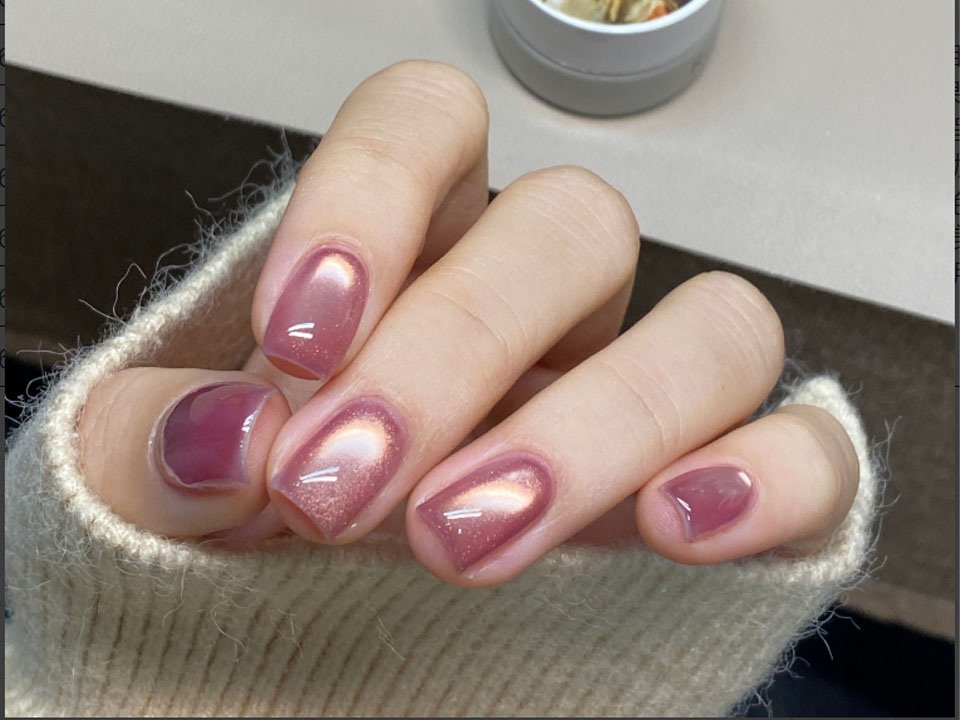
I’m not here to sell you a fantasy where cat eye gel nails “just work” because you bought a magnet. They don’t. But a tight system does: leveled base, a cat eye gel that holds a line, and a magnet routine you can repeat when you’re rushed.
Pick one shade you’ll actually wear and practice like a pro: vintage amber magnetic cat eye gel polish for warm luxe, or Винно-красный магнитный гелевый набор "Кошачий глаз for bold photos. One nail at a time. Set, pull, lock. (Yes, it’s repetitive. That’s why it works.)