Faites des provisions pour votre studio
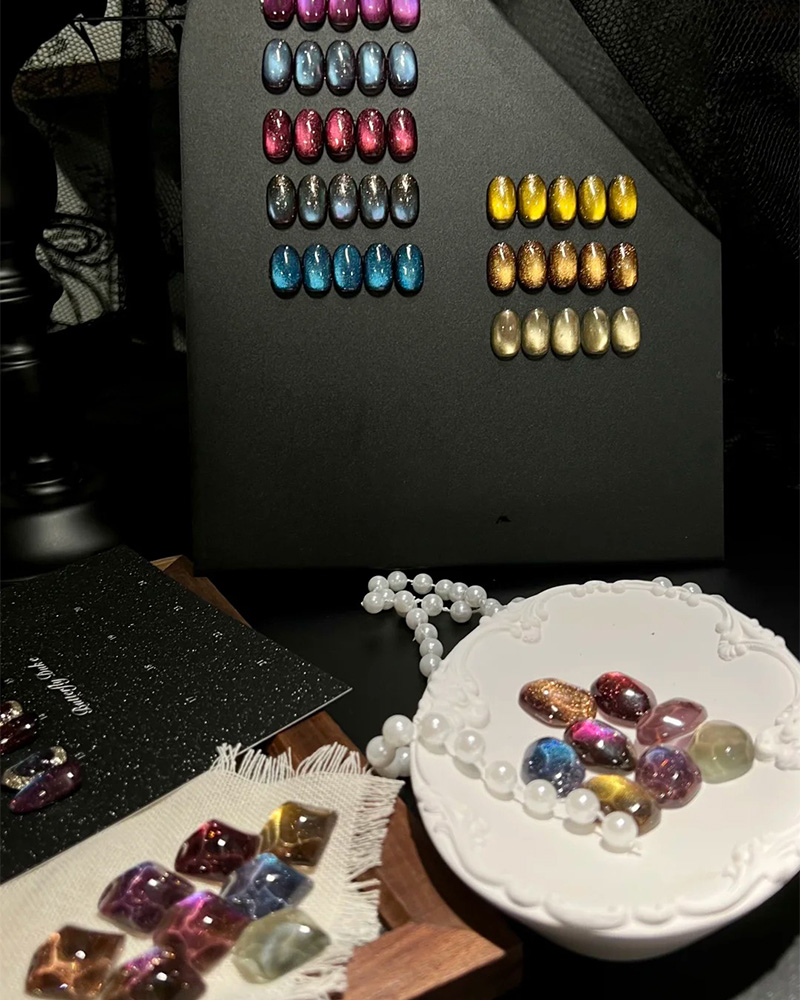
Découvrez les gels à ongles, les poudres artistiques, les outils et les produits essentiels pour les salons de Rose Younai, disponibles pour la vente au détail et la vente en gros.

Les clous faibles n'ont pas besoin de citations motivantes ; ils ont besoin d'une épaisseur contrôlée, d'une discipline d'adhérence et d'un retrait qui ne déchire pas la plaque. Ce guide traite le recouvrement de la base en caoutchouc comme un système - application, mode d'entretien et compromis inconfortables.
Thin nails. Big promises. I’ve watched “strengthening” turn into marketing mush—brands using the word like seasoning—while the same customers keep coming back with peeled free edges, white stress lines, and that telltale soreness that screams “over-filed and under-informed.” So let’s do this like adults: what rubber base overlay can actually do, what it cannot, and why most failures are technique—not product. Want the truth, or do you want cute nails for four days?
Rubber base overlay is not a miracle. It’s a flexible, higher-adhesion gel layer that sits between your natural nail and everything else, designed to move with a bendy nail plate instead of cracking like a rigid builder—if you keep it thin, controlled, and sealed where it matters.
Three words: flex beats rigid. Rubber base formulas typically lean on softer oligomers (urethane acrylate blends are common), higher tack/adhesion behavior, and a “cushion” feel after cure—meaning the coating absorbs micro-bends instead of transferring that stress directly to the natural nail plate. The result is less splitting at the free edge and fewer stress fractures across the apex area, especially on nails that flex when you press them. If your nail bends, why would you trap it under a rigid shell?
Here’s the insider part nobody says out loud: “rubber base” is a vibe, not a regulated category. One brand’s rubber base is another brand’s slightly-soft base coat with a thicker brush. So I judge by behavior: viscosity, self-leveling speed, cure hardness, and—most importantly—how it survives day 7 to day 14 on a truly bendy nail.
Short sentence: weak plates win. If your nails are thin, peel at the tips, or flex enough that gel polish pops off in sheets, rubber base overlay is often the sweet spot because it adds structure without forcing rigidity. But if your nails are already thick and hard—or you want long extensions with a high apex—rubber base can feel too soft and you’ll be chasing dents, chips, or tip wear. Are you trying to stop peeling, or are you trying to build length like a sculpted enhancement?
Practical “yes” signs:
Practical “no” signs:
Two words: stiffness management. Gel polish is typically thin and pretty; it’s not designed to reinforce a flexing nail plate. Builder gel is designed to build structure and can be fantastic—but its rigidity can punish bendy nails if the stress concentrates at the free edge. Rubber base sits in the middle: thicker than polish, more forgiving than builder, but less “architectural” than builder. If you keep snapping corners, why keep choosing the hardest coating?
| Fonctionnalité | Rubber Base Overlay | Gel de construction | Gel Polish |
|---|---|---|---|
| Meilleur pour | Weak, bendy, peeling nails | Length, apex building, repairs | Color + shine on stable nails |
| Flexibility | Medium-high | Low-medium (varies by brand) | Moyen |
| Thickness range | Thin to medium | Medium to thick | Very thin |
| Typical failure mode | Tip wear, dents if too soft | Cracks/lift on bendy nails | Peeling/lift on weak nails |
| Skill required | Moyen | Medium-high | Low-medium |
| Removal risk | Medium (if over-filed/peeled) | Higher (more bulk) | Lower (still risky if peeled) |
Tiny steps matter. Most “rubber base doesn’t work” stories are really “I flooded the cuticle,” “I under-cured,” or “I skipped sealing the free edge and blamed the universe,” and I’m saying that as someone who’s made all three mistakes and paid for them with a week of lifting and a bruised ego. So here’s the step-by-step, built for weak nails specifically. Are you applying a coating—or building a controlled laminate?
Long-term beats heroic. The smartest approach for weak nails isn’t constantly stripping and reapplying full sets; it’s running a maintenance loop where the rubber base overlay becomes your protective layer, and color becomes optional—swapped as a thin layer on top—so your natural nail stops living through repeated removal cycles. Do you want strong nails, or do you want the thrill of full removal every two weeks?
Here’s the maintenance loop I recommend:
If you want a “strong hold” color layer over your overlay, I’d look at something designed for durability rather than thick builder behavior. One option in that direction is Gel fonctionnel pour le nail art pour une tenue forte—use it as the decorative layer, not the structural one.
Three words: oil, gloves, restraint. Cuticle oil isn’t spiritual; it’s lubrication that reduces micro-tearing at the proximal fold, and gloves aren’t aesthetic; they’re chemical warfare protection against detergents and solvents that dry the plate and encourage delamination, especially if you’re already dealing with peeling layers. If your nails are “weak,” why are you washing dishes bare-handed?
Do this:
Avoid this:
Short sentence: removal is everything. If you peel rubber base off, you will pull keratin layers with it—weak nails are already thin, so the damage compounds fast—meaning the product “worked” but your removal erased the gains, and you start the next set with a worse nail plate than you began with. Are you trying to keep nails strong, or are you performing controlled destruction every two weeks?
Safer removal habits:
Let’s be blunt: most of the provided links are color/effect gels or builder gels, not “rubber base.” That’s fine. We can still build a smart stack.
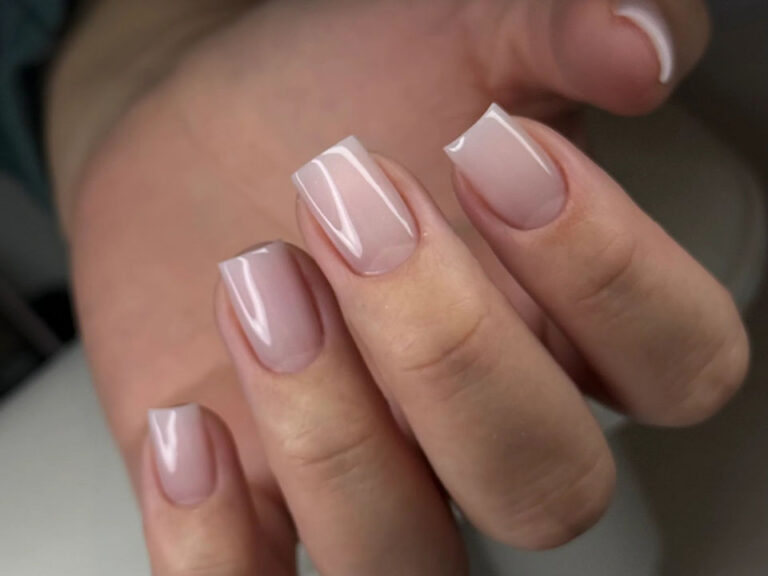
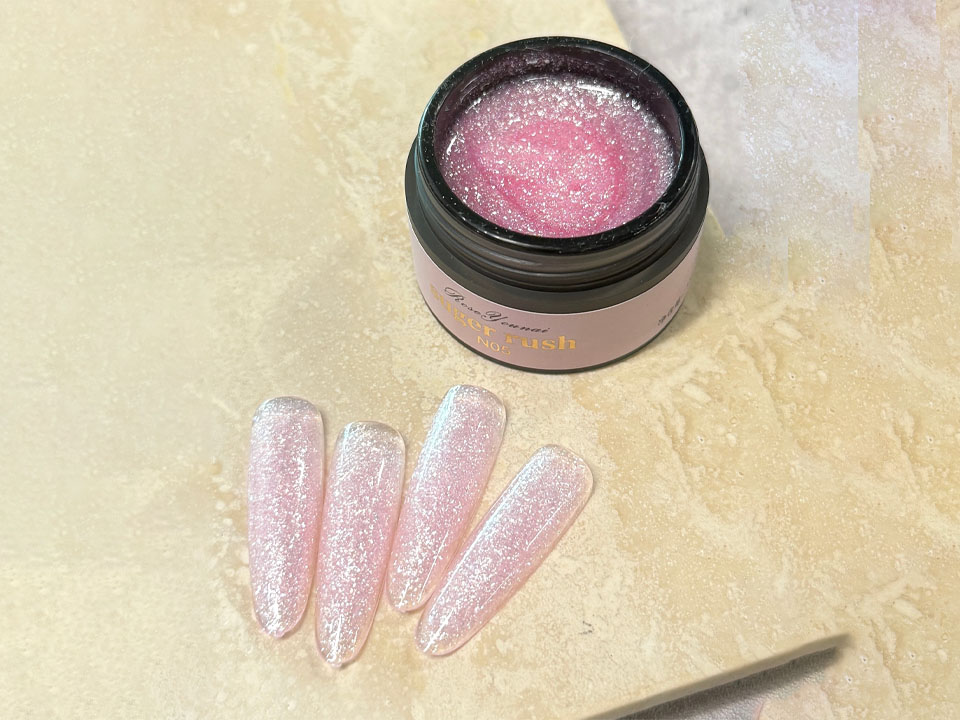
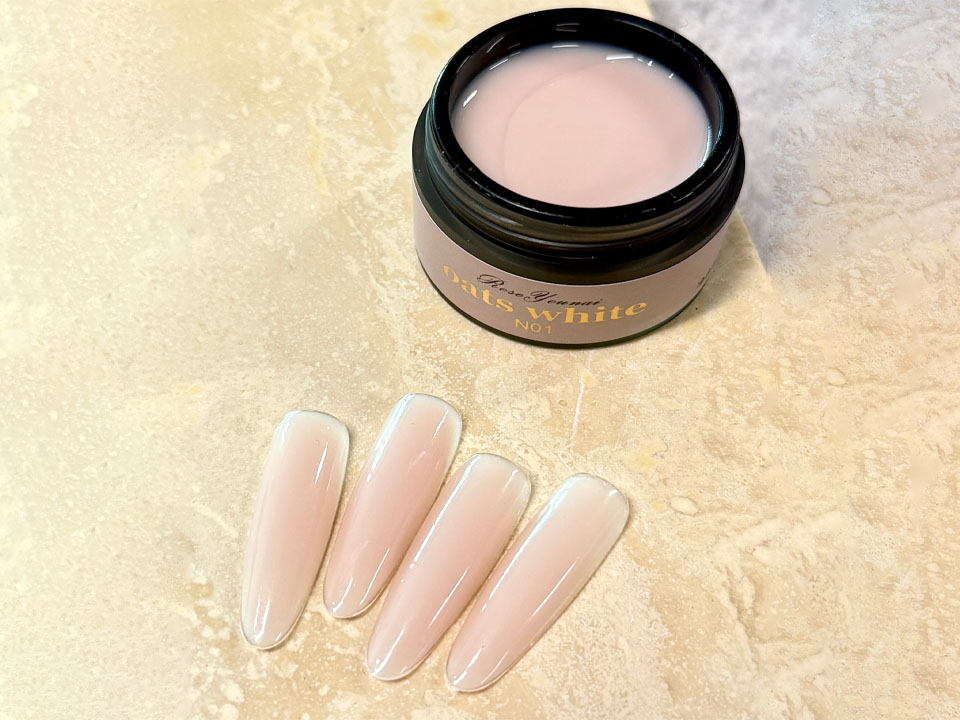
If you want nude structure on days you don’t want color: gel constructeur nude shimmer can be used sparingly as a more rigid alternative when your nails graduate from ultra-bendy to moderately stable. Start with rubber base first if you’re currently peeling and flexing hard.
If you’re rotating color over a stable overlay:
The strategy is simple: rubber base overlay = the protective chassis; these are your paint jobs.
Rubber base overlay strengthens weak nails by forming a flexible, medium-thickness protective layer that reduces bending stress, tip splitting, and peeling while the natural nail grows out, but it does not change your nail biology; strength gains come from protection, better retention, and damage-free removal over multiple weeks.
It’s “strengthening” the way a cast supports a wrist: mechanically, not medically. If you keep your overlay intact and stop ripping layers off during removal, you’ll see fewer breaks and more length retention within 2–6 weeks.
Applying rubber base overlay for bendy nails means creating a thin adhesion layer plus a controlled second layer that adds structure through the stress zone while keeping the cuticle area thin, sealing the free edge, and fully curing so the coating flexes with the plate instead of lifting or cracking.
The big mistake is flooding the cuticle and calling it “more strength.” More product at the wrong place equals lifting. Strength comes from placement, not bulk.
Rubber base versus builder gel for thin nails comes down to flexibility: rubber base is generally better when nails bend and peel because it tolerates movement, while builder gel is better when you need rigid architecture or length, but it can crack or lift if the natural nail flexes underneath.
If your nail flexes easily, start rubber. If it’s stable and you want shape control, builder becomes useful later.
Rubber base overlay versus gel polish differs mainly in structure and purpose: gel polish is a thin color coating designed for aesthetics, while rubber base is a thicker, more adhesive, more flexible reinforcement layer meant to support weak or bendy nails and improve wear time under stress.
If gel polish pops off you in sheets, that’s usually a signal you need a reinforcing base layer, not “stronger” color.
The best rubber base for thin nails is the one that cures fully in your lamp, self-levels without flooding, stays flexible without denting, and maintains adhesion past day 10 with minimal lifting—because “best” isn’t a brand label; it’s the behavior of that product in your specific prep, lamp, and lifestyle conditions.
Look for predictable viscosity, consistent cure, and low-lift performance. If you’re constantly changing lamps or mixing systems, your “best” will keep changing too.
Keeping rubber base overlay on in maintenance mode means maintaining the overlay as a long-term protective layer through regular fills (about every 2–3 weeks) while minimizing full removals, because the goal is length retention and nail plate recovery, not repeated stripping that thins weak nails further.
If the overlay is clean and stable, refresh it. If it’s lifting or contaminated, remove it properly and reset.
If your nails are weak and bendy, stop treating them like they’re “normal” and then acting shocked when gel polish fails. Build a protective chassis first, keep it thin, cure it properly, and commit to removal that doesn’t rip layers.
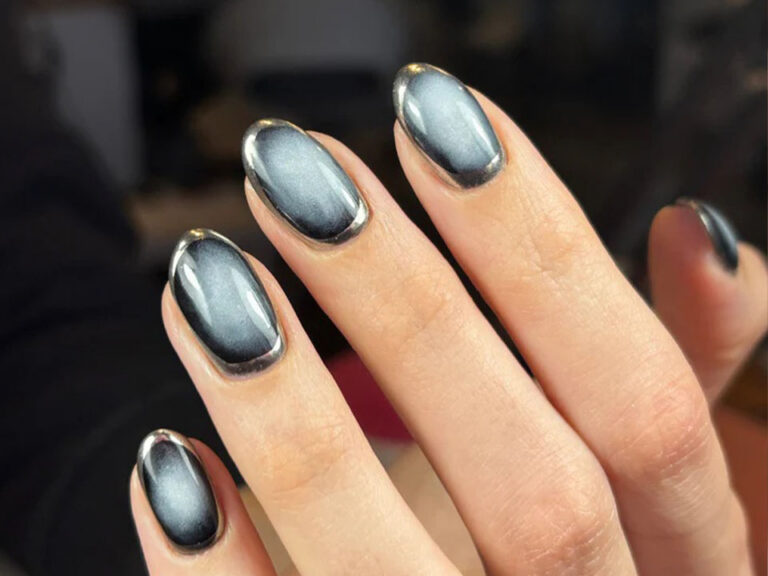
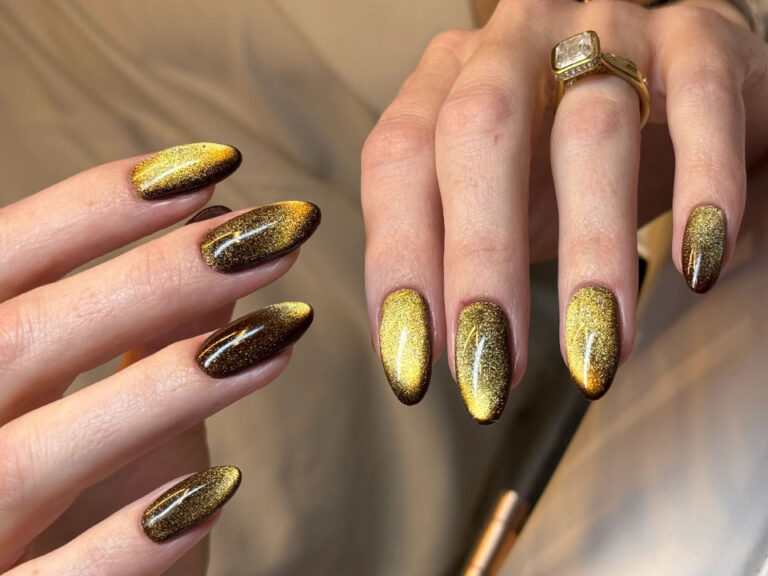
When you’re ready to run the overlay + color-rotation system, start with a durable decorative layer like Gel fonctionnel pour le nail art pour une tenue forte, then rotate into statement looks with gel yeux de chat magnétique rouge vin or a softer set like gel yeux de chat verre laiteux—while your rubber base overlay does the boring work that actually changes outcomes.