Aprovisiónese para su estudio
Descubra los geles para uñas, polvos artísticos, herramientas y productos esenciales para salones de belleza de Rose Younai, disponibles para pedidos al por menor y al por mayor.

La mayoría de los fallos del gel no son “mal pulido”. Son problemas químicos de la superficie: aceite, polvo, monómero no curado y un trabajo descuidado de la cutícula. Esta guía de preparación te ofrece el flujo de trabajo profesional, los feos modos de fallo y las soluciones que realmente funcionan.
I learned this the annoying way: first “perfect” set I ever did looked flawless under the lamp, felt snappy, got compliments… and then lifted like a sticker at the cuticle by day three because I’d basically sealed dust, oil, and a cuticle shelf under a shiny plastic shell that had zero reason to stay married to the nail plate. It happens. Often.
Why does gel fail so predictably? Because gel isn’t regular polish with extra steps—it’s a photo-cure polymer system that only behaves if you treat it like chemistry, not arts-and-crafts, and the minute you trap moisture, skin oils, micro-dust, or that invisible dead cuticle film, you’re not bonding to nail… you’re bonding to junk that’s going to release on schedule.
So yeah. Prep is the whole show.
And here’s the part most brands don’t want you dwelling on (because it doesn’t sell 12 new shades): sloppy prep also spikes skin exposure to uncured monomers—especially methacrylates—and dermatology literature keeps circling back to HEMA (C₆H₁₀O₃) as a repeat offender in nail-cosmetic allergy stories. According to a 2024 clinical discussion on methacrylate allergy patterns in nail cosmetics, HEMA shows up a lot, and “nail cosmetics” isn’t a small niche in patient cohorts.
Unsexy. Real.
And the FDA isn’t exactly whispering about risk either: they’ve warned that while cured polymers are generally fine, trace reactive ingredients can still matter for sensitized people—translation, skin contact + weak curing isn’t just “a manicure problem,” it’s exposure math.
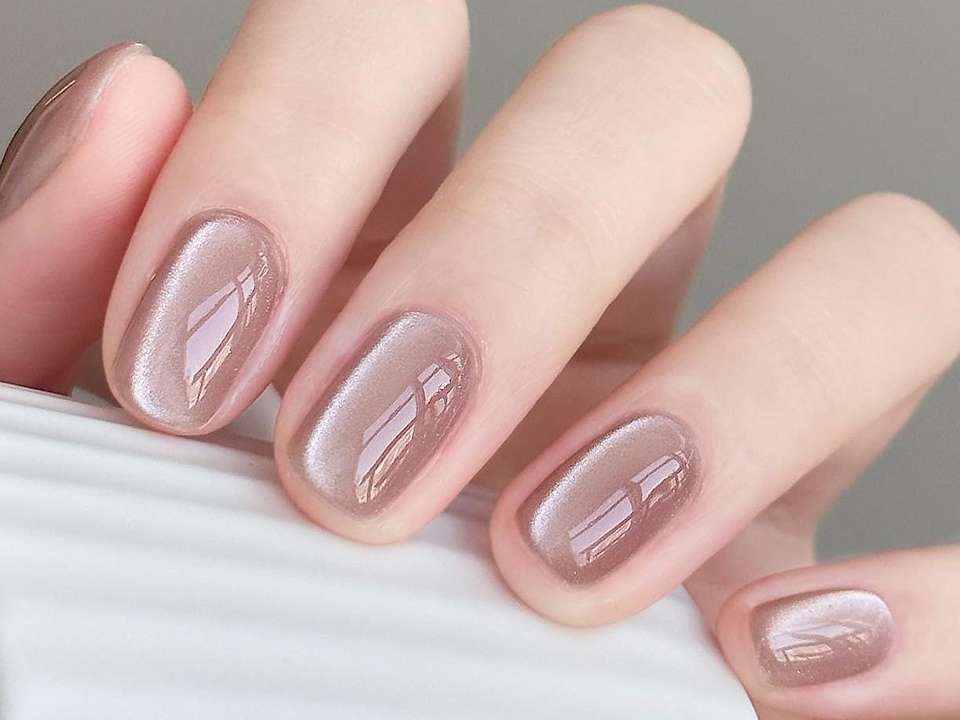
Tres palabras: clean, flat, dry.
Not “dry like dusty.” Dry like chemically dry—no hand-cream smear, no soap film, no sneaky cleanser surfactant that leaves a slip layer you can’t see but your gel absolutely can “feel.”
But… did you actually remove the non-living cuticle tissue on the nail plate? Not just “pushed back” the proximal fold like a polite gesture. I mean that thin, transparent cuticle film that looks like nothing until it becomes the exact border where your gel decides to lift first.
If you paint over that film, your base isn’t bonding to nail. It’s bonding to dead tissue. Then the dead tissue releases. Then you blame the gel. The end.
From my experience, beginners wreck adhesion by doing the “rage buff.” They sand like they’re trying to erase the nail.
Don’t. Use 180–240 grit and just kill the shine. You want uniform micro-texture, not a thin, angry nail plate that’s now flexier and more prone to stress cracks under a hard gel film.
Yet people wipe once and call it clean.
Here’s the ugly truth: if dust is still packed into sidewalls, you’ve basically sprinkled release agent exactly where lifting loves to start. Brush it off, then wipe with 90–99% isopropyl alcohol using a lint-free wipe. One direction. Don’t “scrub” dust into the corners like you’re polishing a shoe.
Tiny test: if the wipe drags and squeaks a little, you’re probably clean. If it glides like skincare marketing, you’re not.
So—dehydrator first. Then, only if you have oily nail plates or chronic lifters, a thin acid-free primer (thin means thin; stop painting primer like it’s base coat). Too much primer can make the system brittle and weirdly prone to peeling in sheets. I’ve watched it happen.
Let me be blunt: most “gel base coat application” I see online is actually “gel base flooding.” People apply it like lacquer, touch skin, push product into corners, and then act shocked when the edges lift like a zipper.
Float it. Minimal strokes. Cap the free edge. Keep it off skin like it’s radioactive (because uncured monomer kind of is… in the wrong context).
If you want structure, that’s builder territory—slip layer, then a controlled bead. A nude builder like Rose Younai N-Series 3-Free Builder Gel in Nude Shimmer makes sense for beginners because it gives strength without forcing you into opaque color perfection on day one.
It’s not about “48W.” That’s marketing fog.
What matters: wavelength band (usually ~365–405 nm), output consistency, and time. Under-cure leaves a soft underlayer that peels. Over-thick coats cure on top and stay under-cured underneath—then you get wrinkles, bubbles, and “mystery lifting” that isn’t a mystery at all.
Common baseline, assuming your lamp isn’t a tired candle:
But if your layers are thick? These numbers lie. The gel doesn’t care what your timer says.
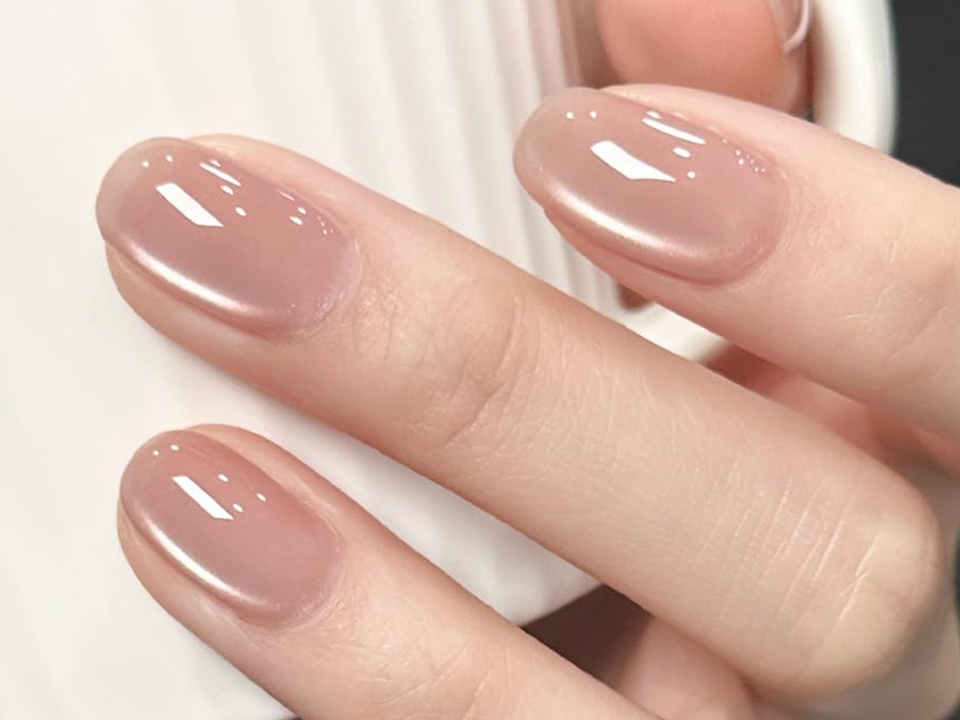
I frankly believe bubbles are mostly user-made.
Shaking the bottle like salad dressing, over-working the gel with the brush, dragging it back and forth until it’s foamy, slapping on thick coats, using old stringy gel that holds air like a sponge—then locking that chaos in with a cure. That’s bubble city.
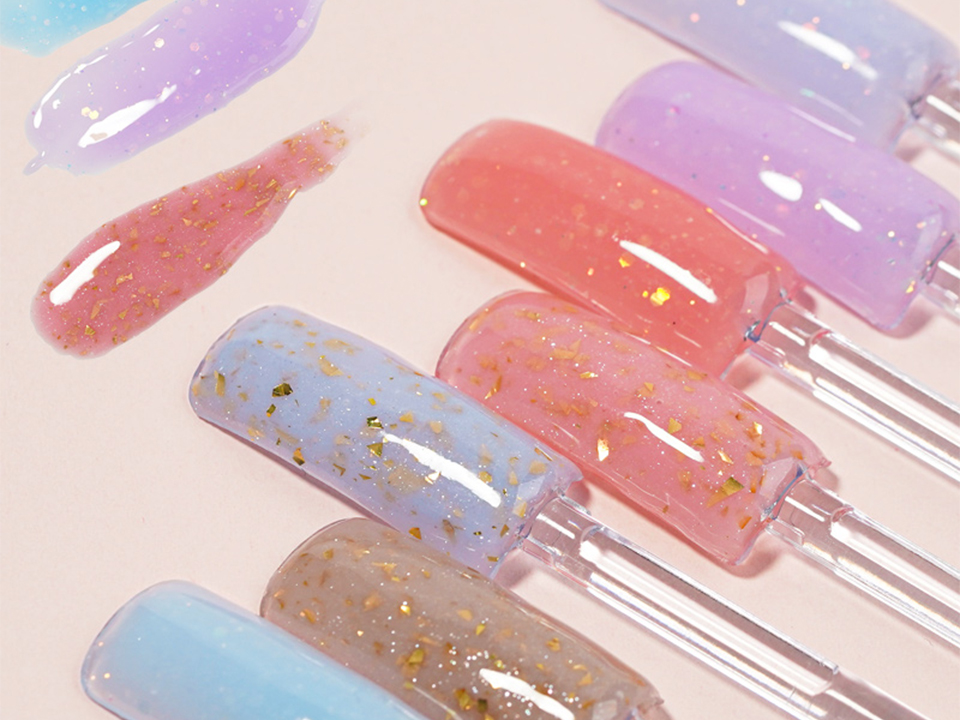
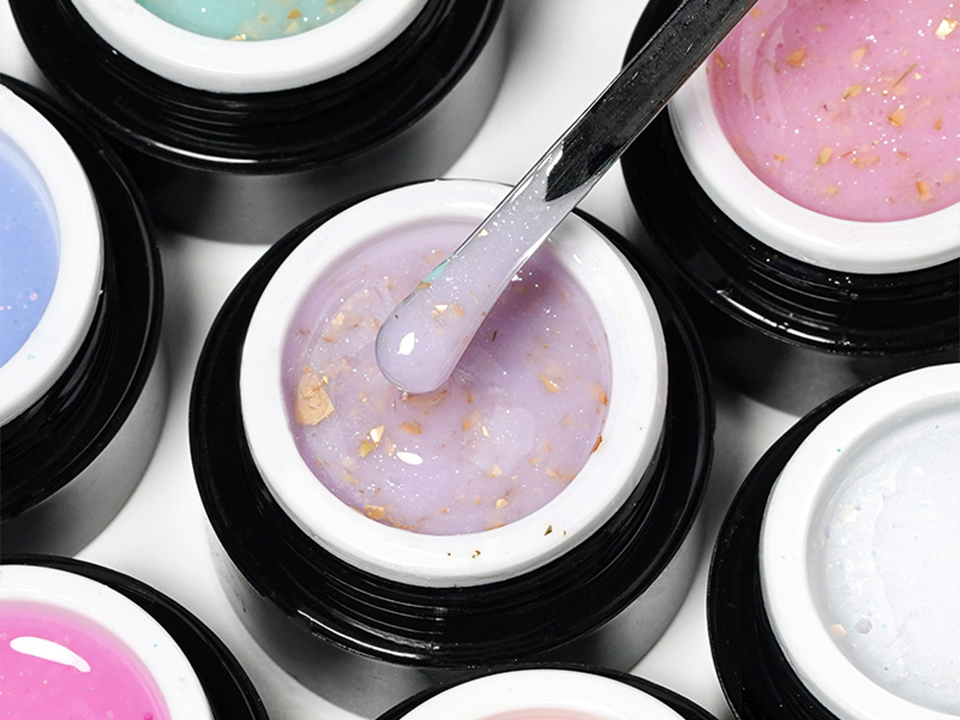
Glitter gels? Worse. They’re thicker by design, so they punish heavy-handed technique. A dense sparkle gel like FG Series Double Focus Micro Glitter Set can look insane (in a good way), but only if you apply it in thin, floated coats and give it a clean cure. No whipping. No panic brushing.
Short version: stop beating the gel up. Let it self-level.
Peeling is adhesion failure across a broad surface. When it pops off in one clean piece, that’s not “bad luck.” That’s your base bonding to something that wasn’t nail.
Most common culprits I see:
If you do nail art, strong hold matters because it reduces the urge to over-brush (which causes bubbles and flooding). That’s why a product like Gel Nail Art Funcional de Fijación Fuerte is logically placed in the workflow: fewer strokes, more control, less air, less mess.
Sidewalls. Cuticle line. Free edge. The holy trinity of failure.
And beginners usually fail there because those areas require awkward angles, a steadier hand, and—this is the unglamorous part—proper cleaning in tiny spaces where dust hides.
Cuticle lifting = you painted too close, flooded skin, or didn’t remove cuticle film. Sidewall lifting = dusty corners, product pooling, or half-cleaned edges. Free edge lifting = you didn’t cap, or you filed after top coat and exposed raw layers.
That last one hurts, because people do it all the time.
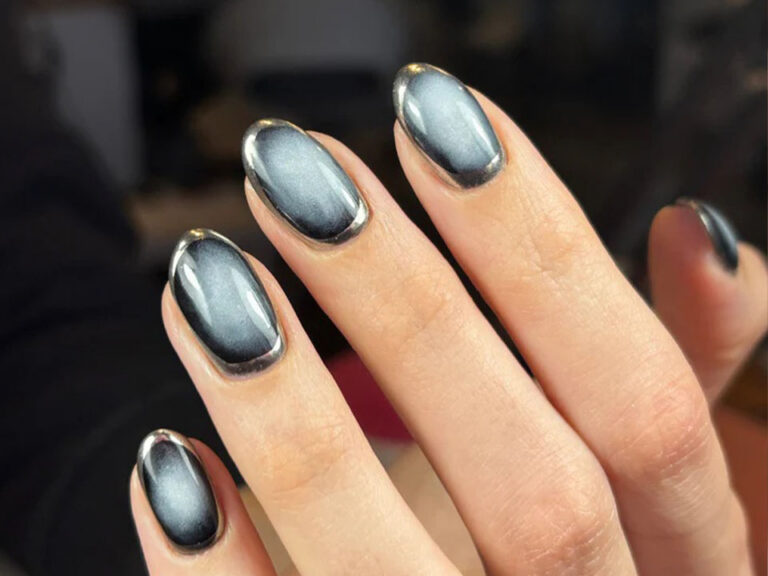
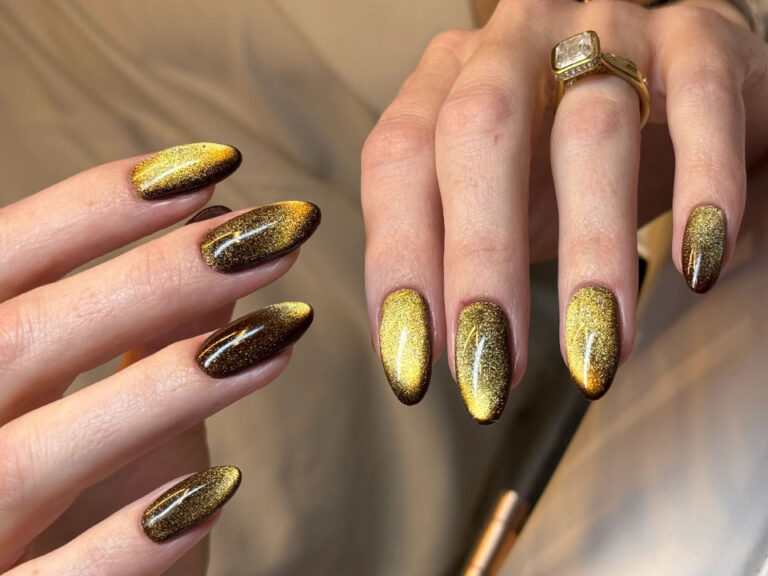
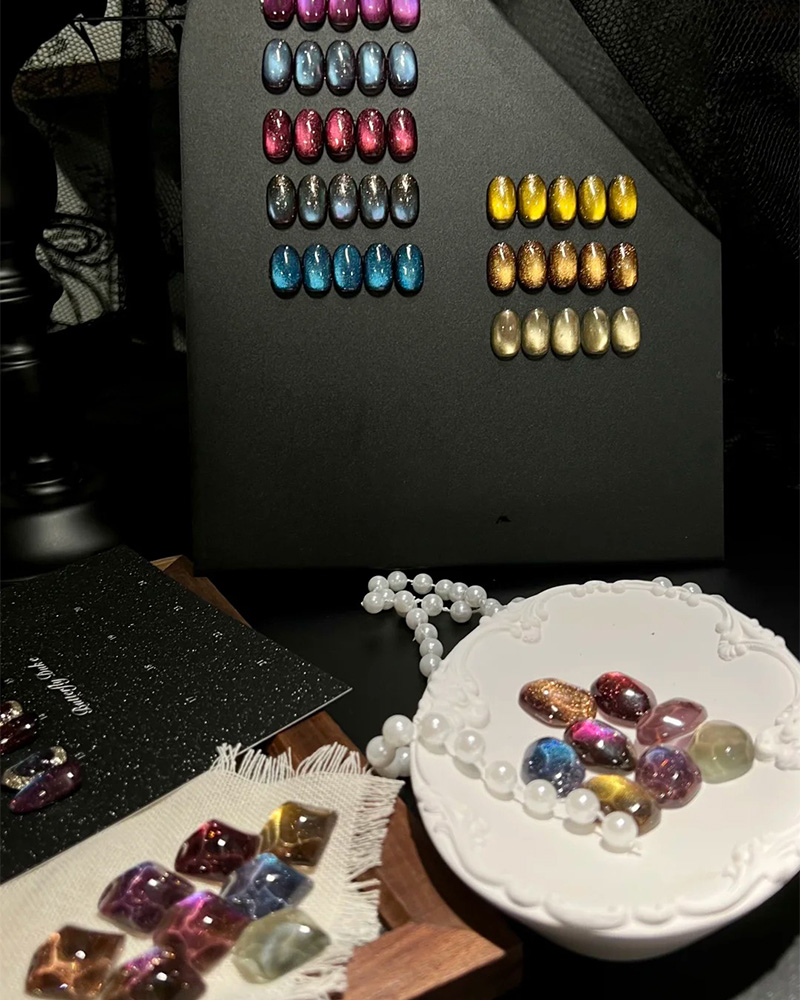
If you want magnetic looks, keep layers thin or the cure gets uneven and the cat-eye gets muddy. A set like Wine Red Magnetic Cat Eye Gel Set is beautiful… but it’s also the kind of gel that punishes a thick, lazy magnet layer (you’ll get drag lines, soft cure, and lifting at the tip).
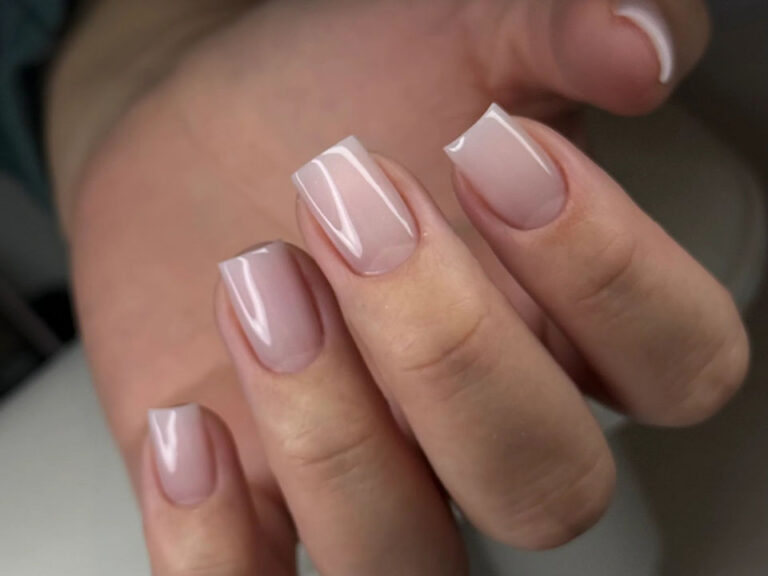
If you’re brand new and want “easy mode,” sheers are your friend. Less visible streaking, less temptation to overwork the brush. Something like Gel de uñas Dewy Glow Sheer Nude is a smart training wheel while you build clean cuticle margins.
I’m going to give you the boring checklist—the one that wins.
Funciona. Normalmente.
| Síntoma | Causa más probable | Fix That Works |
|---|---|---|
| Tiny bubbles after cure | Over-brushing, thick gel, old gel | Thin coats, “float” application, replace thickened gel |
| Peels off in a clean sheet | Cuticle film, oil contamination, base too thick | Remove cuticle film, stronger dehydration, thinner base |
| Lifting at cuticle in 48–72 hours | Flooding skin, painting too close, dusty sidewalls | Leave 0.5–1 mm gap, clean sidewalls, use liner brush near cuticle |
| Lifting at free edge | No capping, post-cure filing exposing layers | Cap every layer, shape before gel, avoid filing after top |
| Wrinkling/“ripples” | Under-cure from thick coat or weak lamp | Reduce thickness, extend cure, verify lamp wavelength/output |
| Sticky/soft after cure | Under-cure or incompatible system | Longer cure, consistent brand system, thinner layers |
Why is my gel polish lifting? Gel polish lifting is the separation of the cured gel film from the natural nail plate because bonding failed at the cuticle line, sidewalls, or free edge due to oil, cuticle residue, dust, thick layers, or incomplete curing under 365–405 nm light. If you want the fastest fix, stop painting “close” and start painting “clean”: leave a hairline gap from skin, remove cuticle film, cap the edge, and cure thinner coats longer.
How do I prep nails for gel polish? Prepping nails for gel polish is the process of removing surface oils, moisture, and non-living cuticle tissue while creating light micro-texture so the gel base can anchor and cure into a stable bond instead of adhering to residue. Push back and clean the cuticle area, lightly buff the shine, dust off like you actually mean it, wipe with 90–99% IPA, dehydrate, then apply a whisper-thin base coat and cure fully.
What causes gel nail polish bubbles? Gel nail polish bubbles are trapped air pockets inside the gel layer created by shaking the bottle, overworking the gel with the brush, applying overly thick coats, or using thickened product that holds air, then locking those bubbles in during curing. Roll bottles gently instead of shaking, float the gel with minimal strokes, and keep layers thin—especially with glitter or builder viscosity gels.
What’s the best way to apply gel base coat? The best way to apply gel base coat is to lay down an ultra-thin, even film that avoids skin contact and caps the free edge so the polymerized base creates a tight bond line, minimizing water intrusion and mechanical stress points that trigger peeling. Wipe excess off the brush, don’t flood the cuticle, cap the tip, and cure based on your lamp’s actual strength (not the label fantasy).
How long should I cure gel polish in an LED lamp? Curing gel polish in an LED lamp is exposing each thin gel layer to sufficient 365–405 nm light intensity for long enough to polymerize the film through its full thickness, preventing soft underlayers that later peel, wrinkle, or lift. Most systems sit around 30–60 seconds for base and 60 seconds per color coat, but thick coats are the real enemy—go thinner before you go longer.
Can I use rubbing alcohol before gel nails? Using rubbing alcohol before gel nails is a surface-cleaning step where 90–99% isopropyl alcohol removes oils and fine dust so the base coat bonds to nail plate rather than residue, reducing peel and lift from contamination at the bond line. Use lint-free wipes, wipe in one direction, and don’t touch your nails after—alcohol doesn’t replace proper cuticle cleanup and dehydration.
If you’re serious about learning how to apply gel nail polish without the usual beginner heartbreak, stop shopping for “stronger” top coats and start policing your prep like a pro. Practice with forgiving shades (that sheer nude is a cheat code), build strength with Nude Shimmer Builder Gel, and when your cuticle line finally stays clean, then—then—go wild with effects like Wine Red Magnetic Cat Eye Gel Set. You don’t need luck. You need a repeatable bond line.