Stock Up for Your Studio
Explore Rose Younai’s curated nail gels, art powders, tools, and salon essentials — available for retail and wholesale orders.

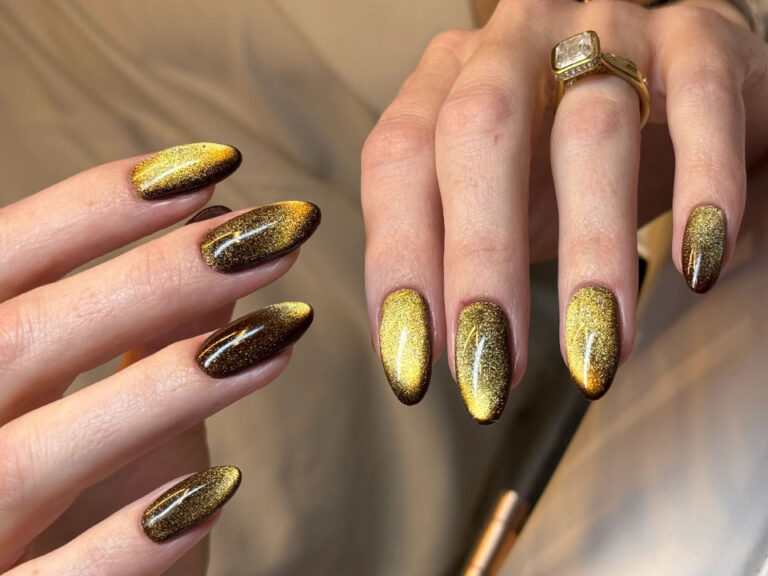
Chrome + cat eye isn’t “just stacking trends.” It’s a materials problem (particle size, tack, magnetic pull, cure chemistry) dressed up as pretty nails. This guide shows the cleanest workflows, the failure points, and the product stack that holds up.
Tiny trend. Big payoff, because you’re not merely mixing “chrome” and “cat eye”—you’re manipulating reflectivity, pigment suspension, and a magnet-driven particle alignment step that can be ruined by one sloppy cure cycle, one wrong top coat viscosity, or one finger that touches the tack layer for half a second. Want the luxe look without the heartbreak?
I’m going to say the quiet part out loud: most “chrome cat eye nails” tutorials fail because they’re written like recipes, not like process control. And nails are process control. Pressure, timing, layer thickness, lamp output, and your magnet’s field strength matter more than the brand name stamped on a jar.
So here’s the insider version.
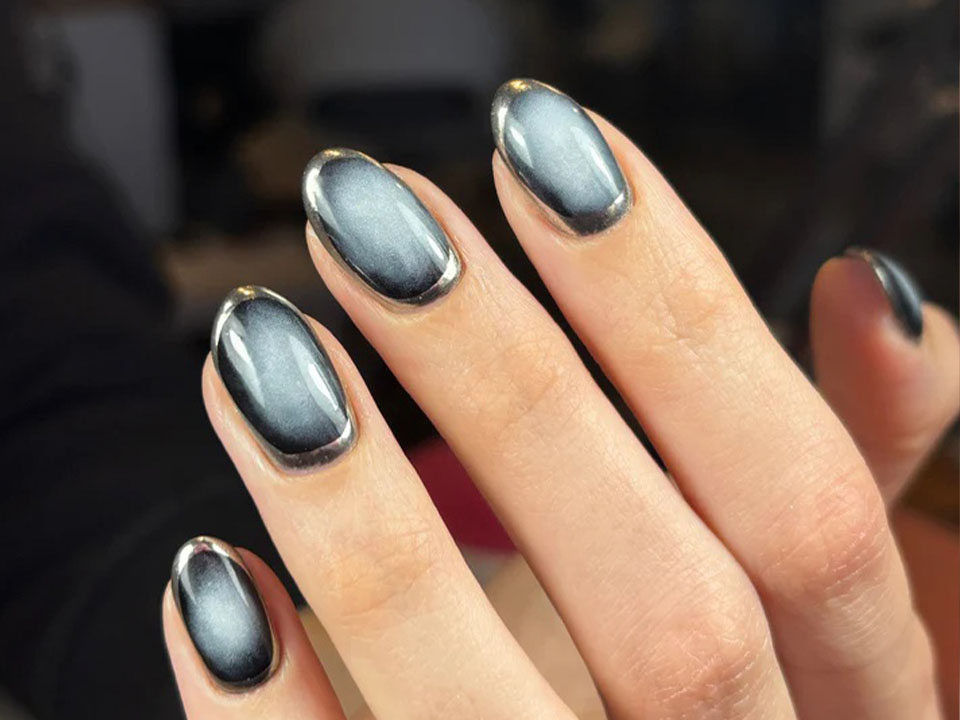
Three-word truth: Tack is currency. Chrome powder needs a controlled sticky surface to grip (not wet, not fully cured, not contaminated), while cat eye gel needs enough open time for the magnetic particles to move into a crisp line before the light locks it in. If you let either step drift, you get the classics: dull chrome, muddy cat eye, or flaking at day four. And if you’ve ever wondered why one hand looks like a salon reel and the other looks… tired—this is why.
Keep it boring. Boring lasts.
Short sentence: Order changes optics. If you chrome too early, you can reduce visibility of the cat eye line; if you chrome too late (over a thick slick top), you get patchy powder and bald spots.
Here’s the practical truth: you’re choosing between maximum line definition vs maximum mirror effect.
| Variation | Best for | What you’ll see | Risk profile | My call |
|---|---|---|---|---|
| Cat eye → magnet → cure → “chrome grab” layer → chrome → seal | Sharp cat eye + bright chrome | Clean line under a glossy mirror | Lowest flake risk if sealed right | Best default workflow |
| Chrome base → cat eye on top → magnet → cure → top coat | “Floating” cat eye shimmer on chrome | More dimensional depth, less mirror | Cat eye can look muddy if gel is thick | Good for advanced hands |
| Cat eye → magnet → partial cure → chrome | Viral reel speedruns | Very reflective, sometimes stunning | Higher flake + smudge + uneven set | High-risk, low-repeatability |
Three words: Contrast sells luxury. The most convincing luxe sets use a dark magnetic base to create a readable line, then a chrome that’s slightly “off-white” or tinted—think champagne, pewter, soft rose, or blue steel—so it catches light without screaming.
Try these pairings:
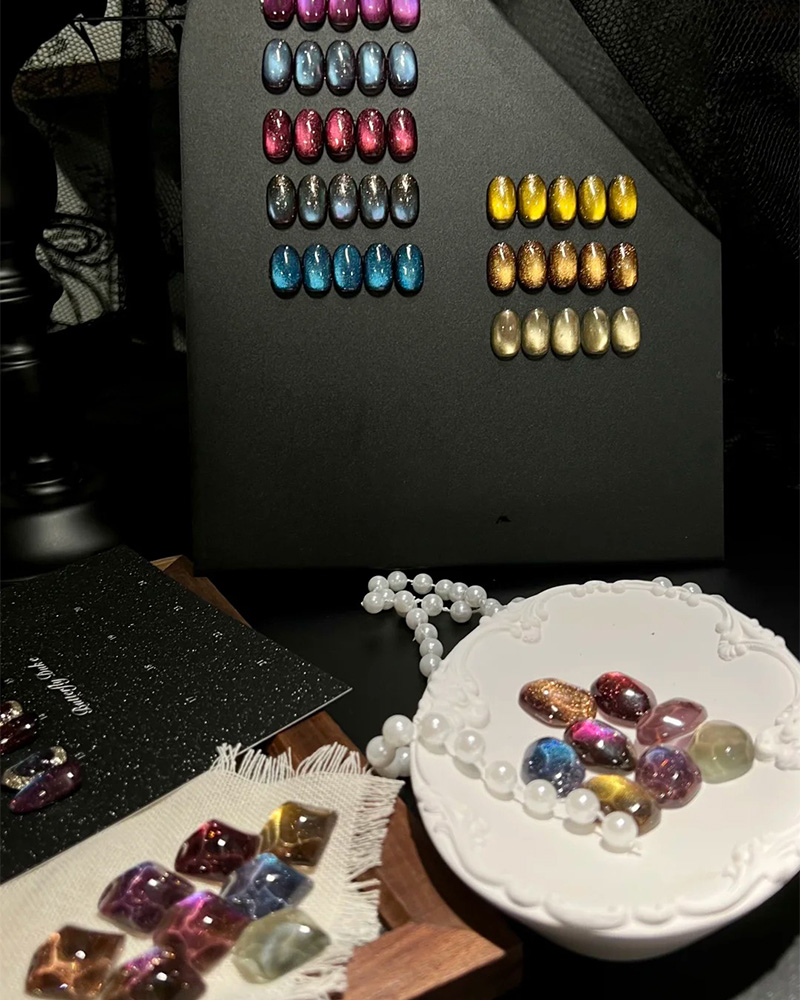
If you want sparkle without turning it into a disco ball, layer it with restraint: micro glitter sparkle gel for controlled twinkle over cat eye. If you want the “galaxy” vibe—chrome plus scattered light points—use: sheer galaxy glitter gel for depth and particle play. And if you want a softer, milky glass cat eye that reads luxe even in daylight: milky glass cat eye gel for subtle line definition.
Three words: Flaking isn’t random. Chrome flakes when it’s sitting on contamination (oil/dust), sitting on the wrong layer (too slick, too undercured), or sealed poorly (no “freeze” coat, no edge cap), and the fix is boring: cleaner prep, correct cure, thin protective top before the final gloss.
And yes, lamp output matters. A weak LED lamp makes every step feel haunted: tacky when it should be hard, hard when it should be tacky.
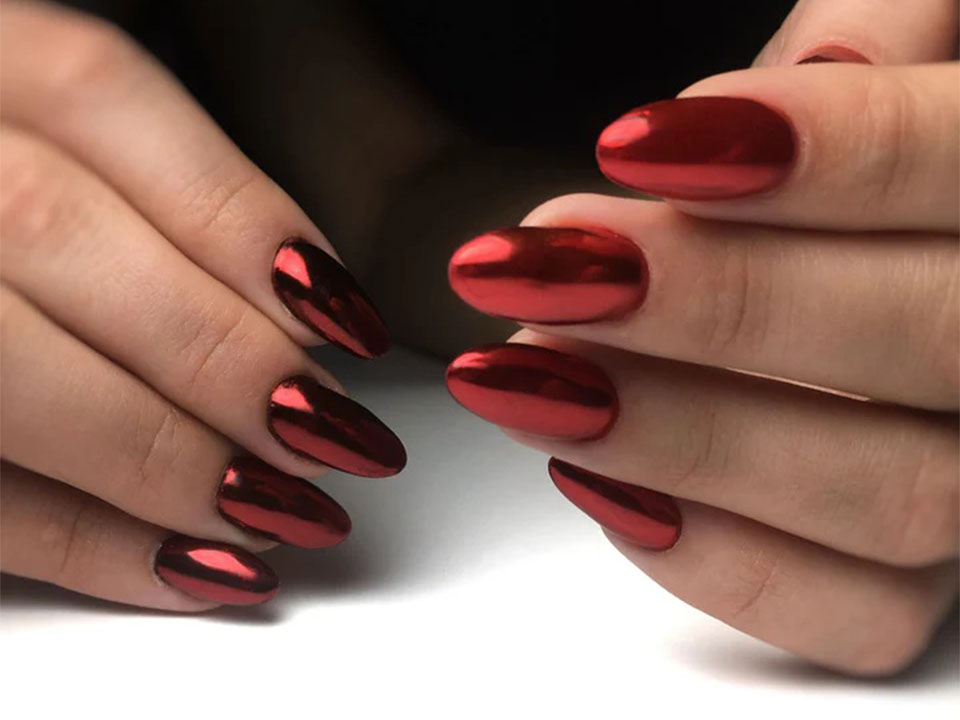
Short sentence: Tools beat vibes. A stronger magnet, a stable cat eye gel, a reliable builder base for rigidity, and a chrome-friendly sealing system beat swapping chrome powders endlessly.
If I had to build a high-reliability stack for DIY:
Three words: Acrylates cause allergy. Many gel systems contain acrylates like HEMA (2-hydroxyethyl methacrylate), HPMA, and photoinitiators such as TPO, and repeated skin contact can trigger lifelong sensitization—so keep gel off skin, cure fully, and don’t “wipe and pray” if you flood the cuticle. Worth risking contact dermatitis for a mirror finish?
Does “chrome cat eye nails” mean chrome on top of cat eye, or mixed into it? Chrome cat eye nails are a layered nail design that combines a magnet-activated “cat eye” gel (metallic particles aligned by a magnet before curing) with a chrome powder finish applied to a compatible cured layer, then sealed; it’s not usually chrome mixed into cat eye gel, but stacked for controlled optics.
How do I do chrome cat eye nails step by step at home? Chrome cat eye nails are made by prepping the nail, applying base/builder as needed, laying a thin cat eye gel layer, shaping the light line with a magnet, curing immediately, applying a chrome-friendly “grab” layer, burnishing chrome powder evenly, then sealing with a thin protective coat plus a full top coat with edge-capping for durability.
Should I apply chrome before or after using the magnet? Applying chrome after the magnet step means you first create and lock the cat eye line in the gel layer, then add reflectivity on top, which preserves line definition and improves repeatability; applying chrome before can create deeper optical layering but often reduces mirror intensity and increases the chance of muddy particle movement.
What magnet is best for cat eye with chrome? The best magnet for cat eye with chrome is one that produces a strong, consistent field (often a rectangular bar magnet or “multi-line” magnet), allowing sharp particle alignment in 8–15 seconds at a stable 3–8 mm distance; weaker magnets force longer hover times, leading to diffusion and less readable lines.
Why is my chrome flaking off cat eye nails? Chrome flaking is a wear-failure where powder sits on an unstable or contaminated surface (oil, dust, undercure, or overly slick cured layers) and then gets sheared at edges; fix it by cleaner prep, correct cure timing for the chrome “grab” layer, a thin freeze coat before the final top coat, and thorough edge-capping.
Can I do “foil cat eye nails” with chrome too? Foil cat eye nails with chrome are a hybrid where you use magnetic gel to form a line, add foil accents (usually pressed into tack or adhesive gel), then selectively chrome for highlights; it works best when foil is sealed first so the chrome burnish step doesn’t snag and lift foil fragments.
If you want this look to stop being a one-night miracle and start being a two-week standard, build your stack like you mean it: rigid base, stable magnetic gel, controlled chrome grip, and a seal that respects edges. Start with a reliable magnet base like wine red magnetic cat eye gel, lock your structure with nude shimmer builder gel, and keep chrome from sliding around with strong-hold nail art gel.